The Seat Shop

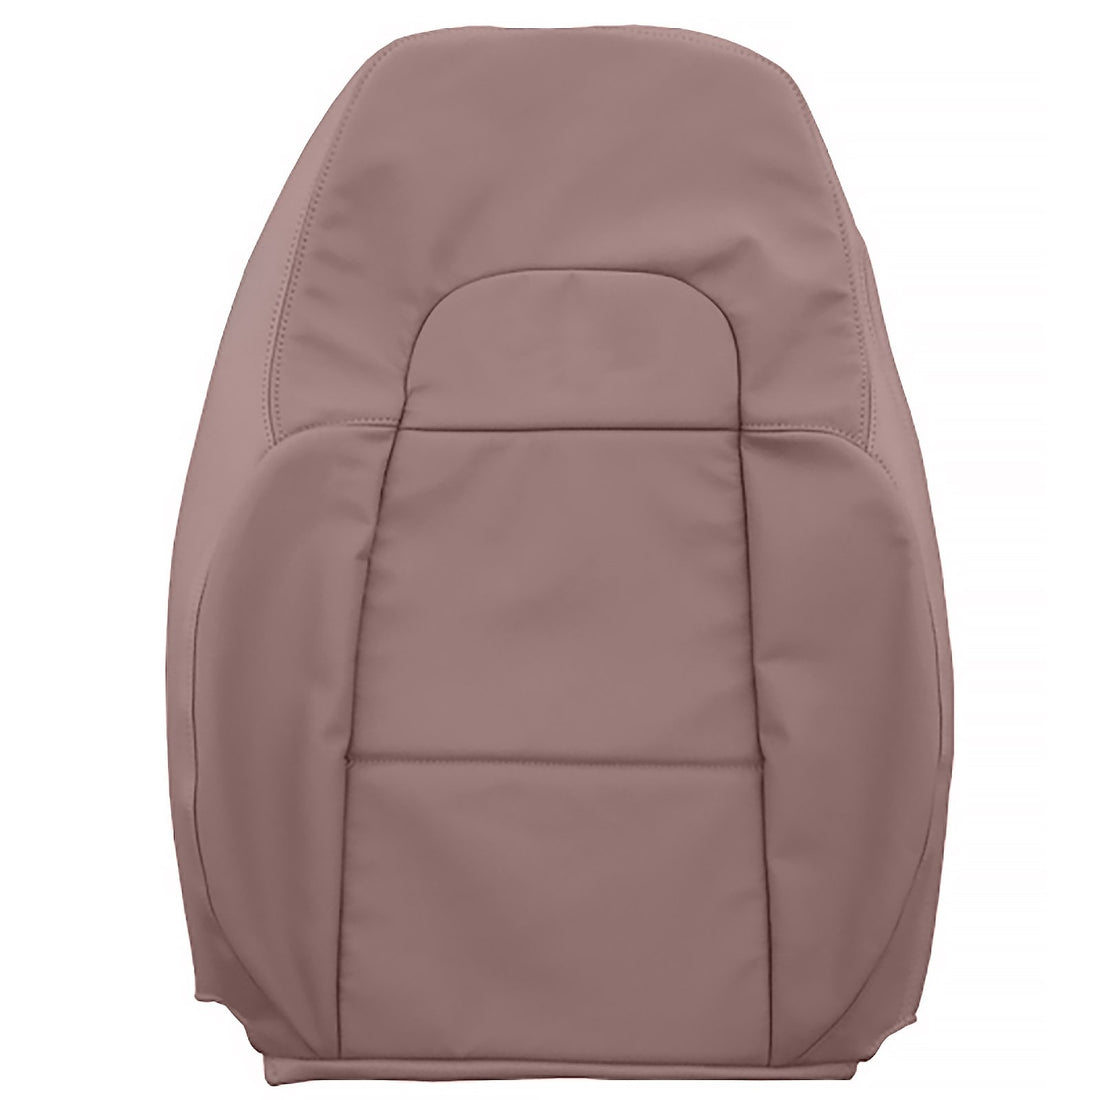
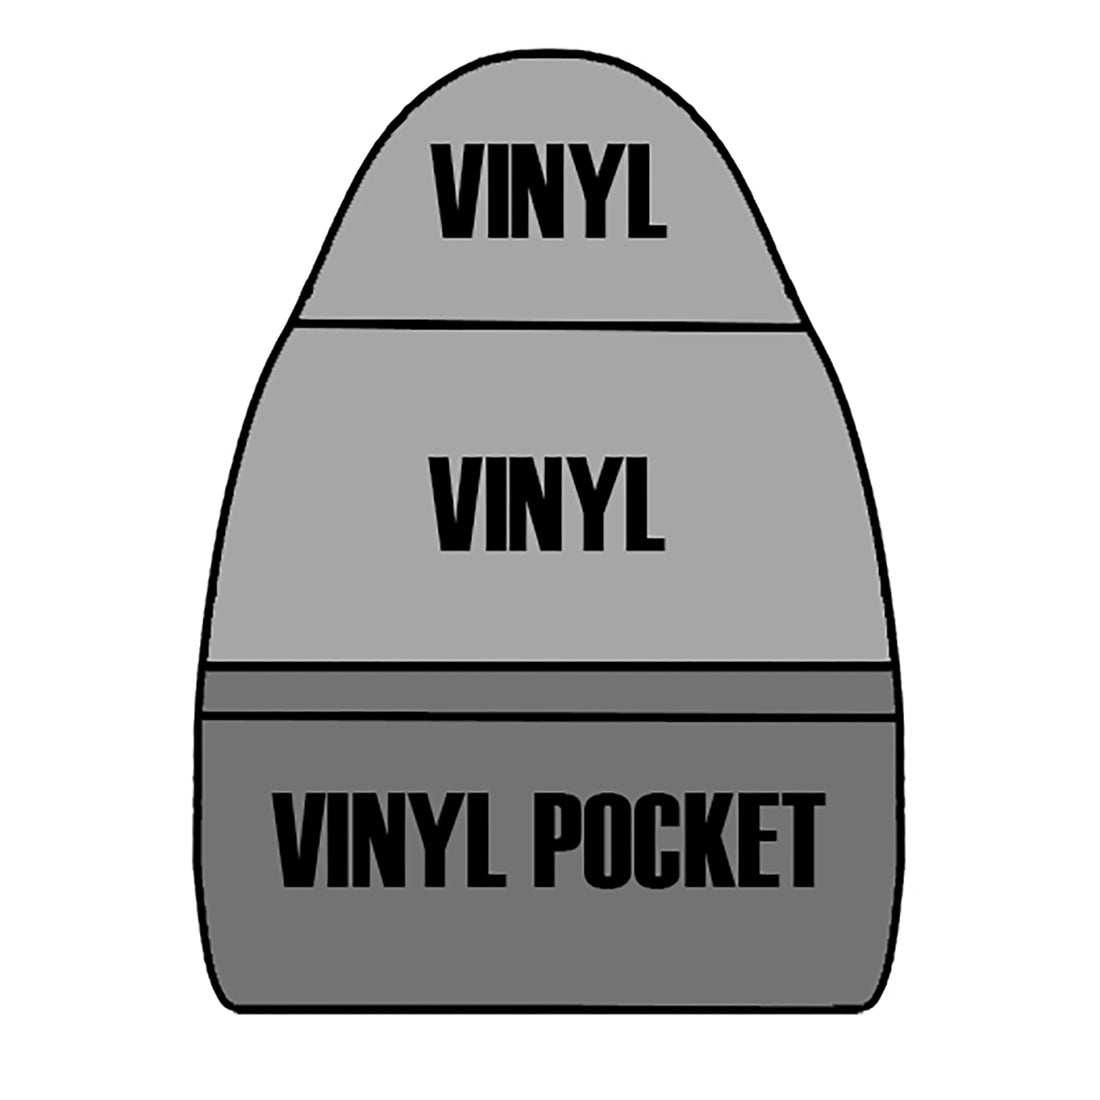
1999 - 2001 Ford Explorer XLT - Driver Side Top Seat Cover **without Side Impact Airbag** - Prairie Tan Leather/Vinyl. Back Config Has Vinyl with Vinyl Pocket - B2

SKU: CT-XPL-01-PT-D

Made to Order: May take up to 5 weeks to ship.

Made to Order

May take up to 5 weeks to ship.

Regular price
$199.20 USD
Regular price
$249.00 USD
Sale price
$199.20 USD
Add to cart
Sorry, you can't add more than 10 pieces.

Product Details

  • Row: Front Row
  • Side: Driver Side
  • Part: Top Cover
  • Interior Package: OEM Leather/Vinyl
  • Color: Prairie Tan
  • Insert type: Solid
  • Option: Top Cover Back Configuration - Vinyl with Vinyl Pocket - B2
  • Airbag compatible: No
  • Compatible with Heated Seats: Yes
  • Seat Style: Bucket Seats
  • SKU: CT-XPL-01-PT-D
  • Description
  • Product Reviews
This replacement cover is manufactured using a leather seating surface and vinyl side skirting. Our research and development team has matched the color, grain, and fitment from your original cover. Each panel is digitally cut, and then sewn to OEM specifications to ensure a proper fit. This cover is NOT A SLIP ON, but will replace the existing cover. The Seat Shop is the AUTHORITY in factory match replacement leather seat covers! Are you tired of the old, worn out seats in your vehicle? We manufacture our brand new OEM style replacement seat covers in Dallas, Texas.

Product Reviews

Customer Reviews

Based on 1 review
0%
(0)
100%
(1)
0%
(0)
0%
(0)
0%
(0)
S
Sylvester Smith
My interior looks presentable again.

The experience was not overly difficult, but I'd consider it about a 90+ percent success. The color was very good and I believe it a good match for the existing color. The parts that I fret over were that the original covering had to be cut to remove it from the seat and there were hog rings in place around the seam at the back of seat's back. This seam forms the big upside down U directly behind your back. There is no possible way to affix replacement rings to anchor the covering. This allows some movement of the covering over the seat. It is not bad, but noticeable if you want the perfect replacement. It would appear the covering has to be sewn back on the seat to install rings. Additionally, the bottom of the covering should connect the front side to the back side via two plastic pieces that run along the bottom of each panel by hooking onto each other. I could not get them to connect as they appeared to lack about 1/2" of material. I stretched, squeezed, pushed, compressed the covering and foam to no avail until I gave up. So, the bottom remains not connected at the bottom of the seat back.

The new covering does look better from the outside of the vehicle to any passerby. Any passenger not inspecting the interior most likely would not routinely notice the issues I described immediately. Me, I know and it is one of those nits because I know.

Thanks so much for your review and the detailed feedback. We really appreciate it. You're right that removing the original cover often requires cutting through the old hog rings, and those will need to be fully removed before installing the new cover.

For the install, you'll want to start with the new seat cover turned inside out. Carefully roll it down over the cushion, clipping the first few hog rings using hog ring pliers. Then roll it down a bit more, clip a few more, and continue that process until the cover is fully seated and secured at the bottom.

As for the issue you're having with the bottom attachment, we’d be happy to take a closer look. When you have a moment, please send a few photos of your foam cushion to sales@theseatshop.com so our team can advise on the best next steps.

We’re glad the new cover is looking sharp overall, and we’re here to help however we can!

HOW DO WE COMPARE?
Poster